Week 15: tutorial for the metal blister
THE BLISTER TUTORIAL
BEIL0014 – DIGITAL MAKING

Steps:
Step 1 - Creating the module


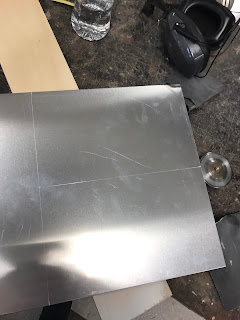
Step 2 - Cutting the sheet

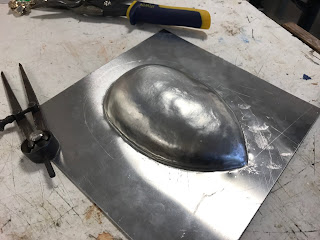
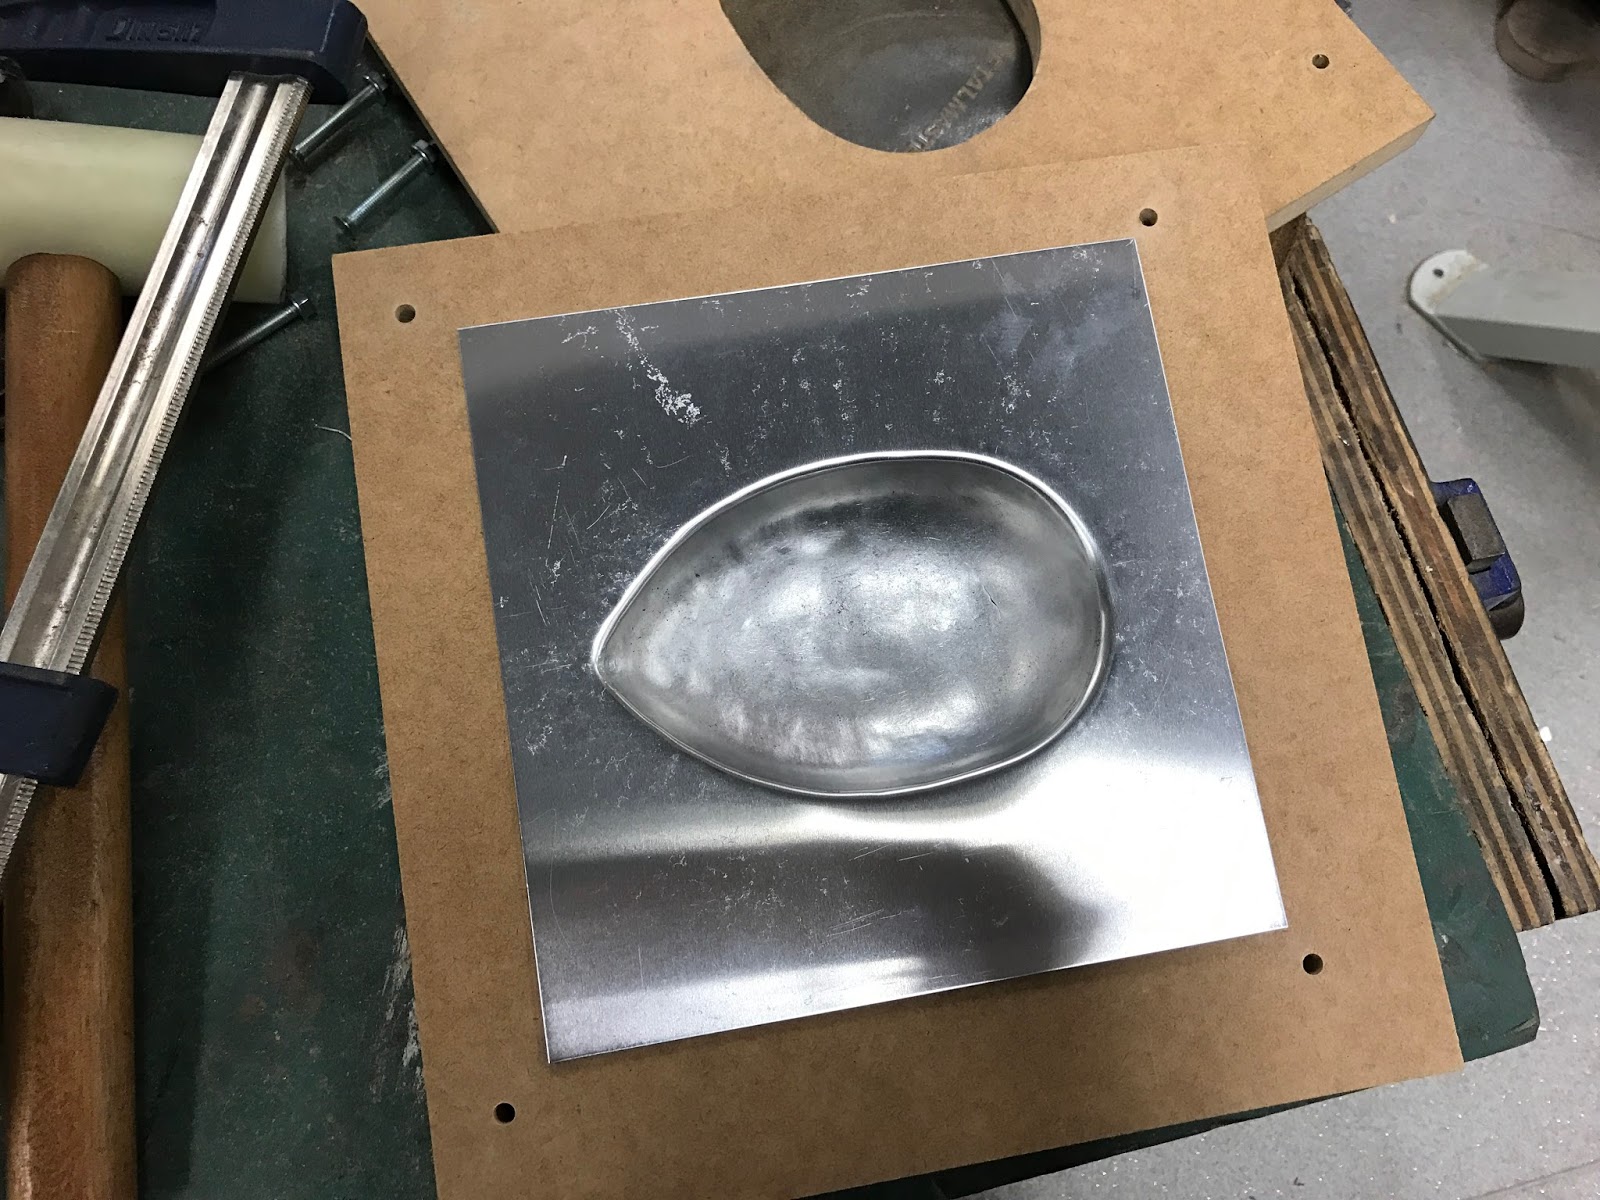
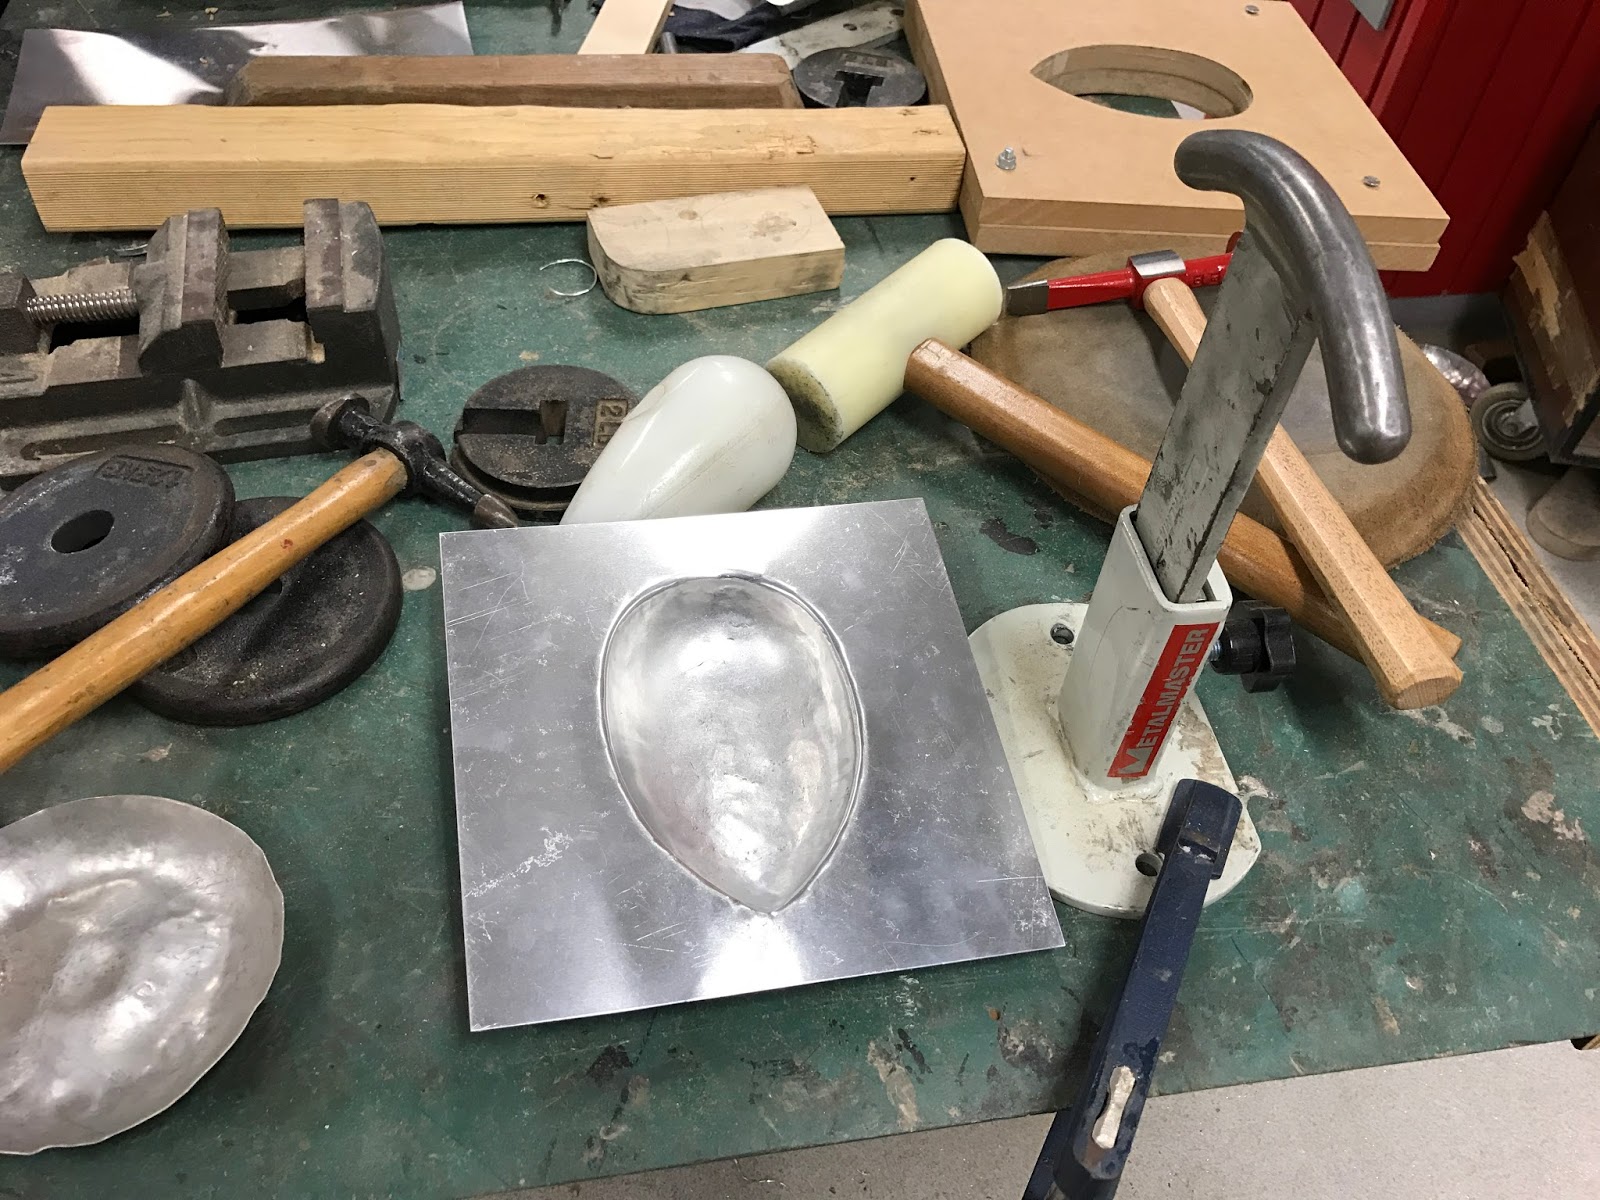
Step 3 - Shaping the deep
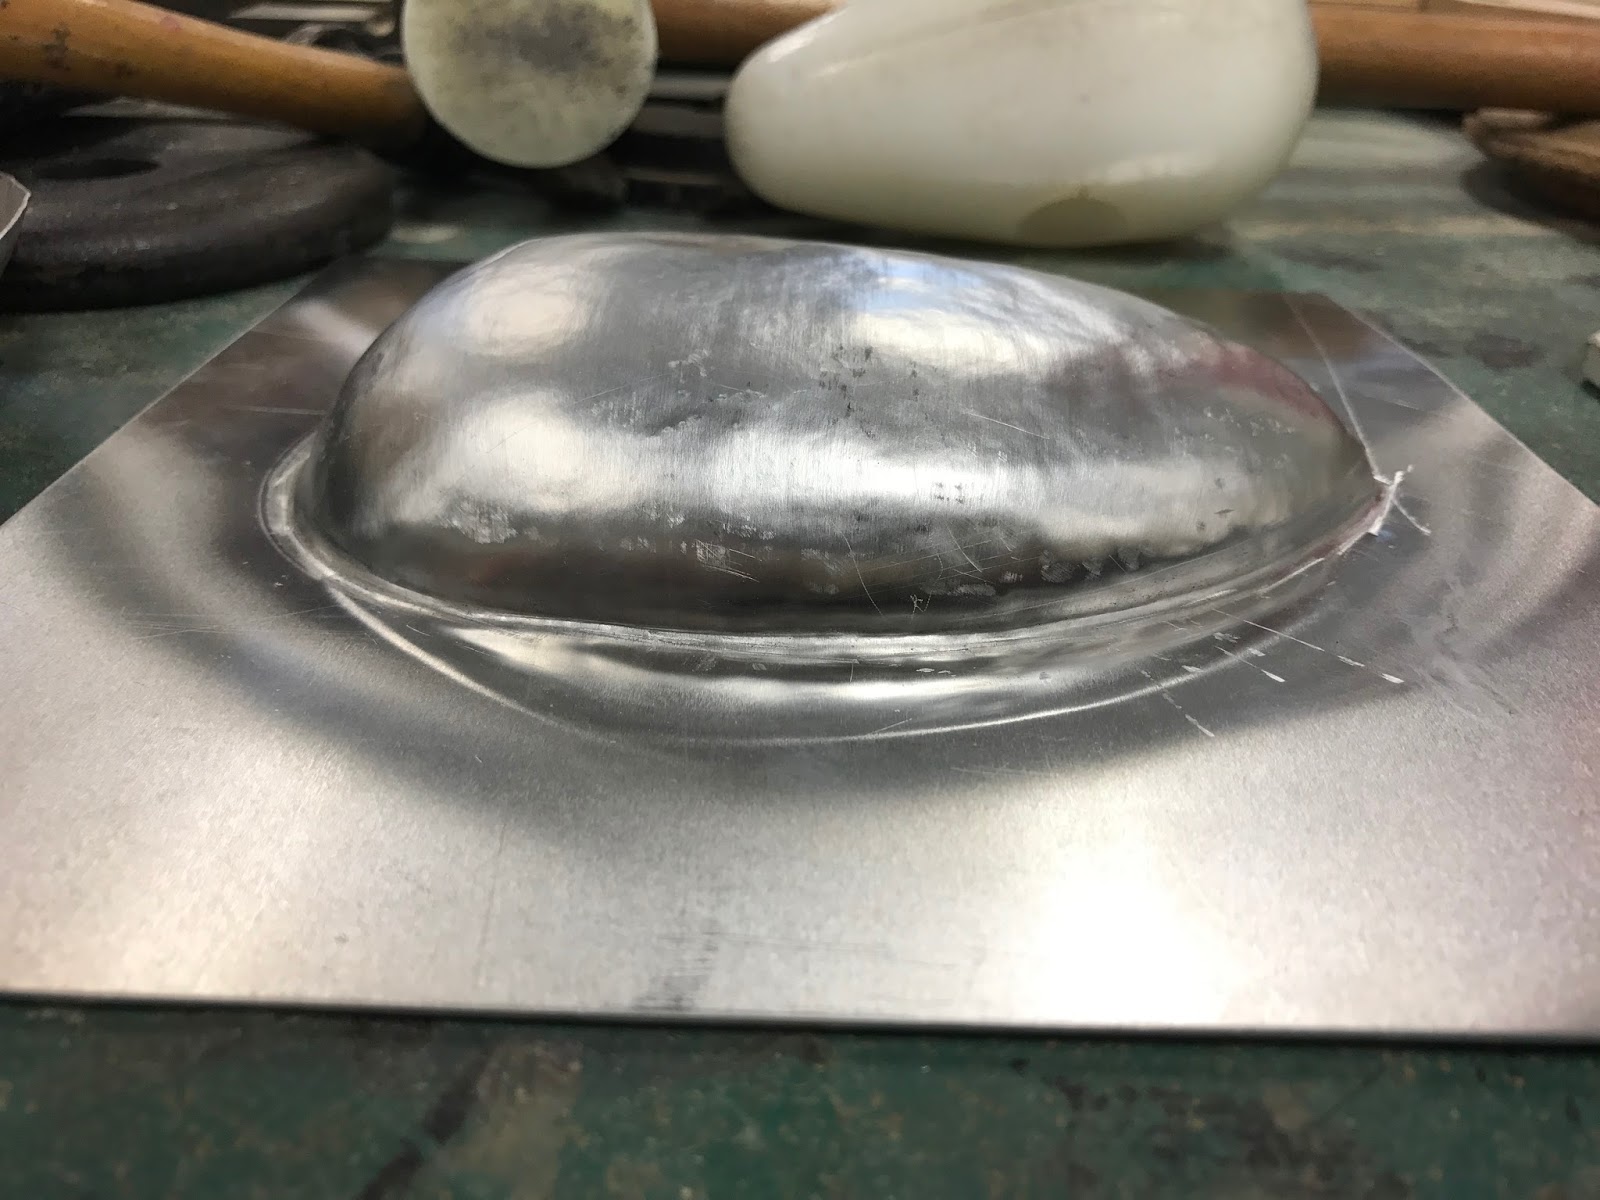
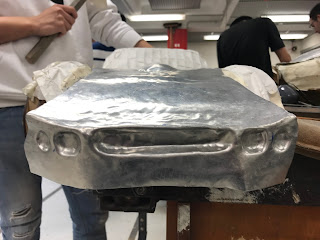
When the metal sheet and MDF frame are ready for further action, the blister would be started to create by different types of hammers. Round edges of plastic hammer should be hold into the middle shape area, then the flat plastic hammer to hit the round plastic hammer. in terms of ensuring the deep balance for the entire eggshaped flange, large side of round plastic hammer for curve side of hit area, while needle side of plastic hammer for sharp area to hit, and do not hit one place only, but hit evenly for everywhere to avoid wave surface.


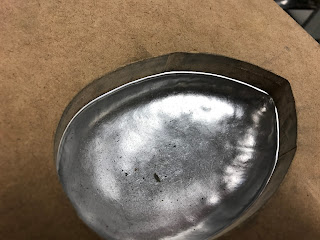
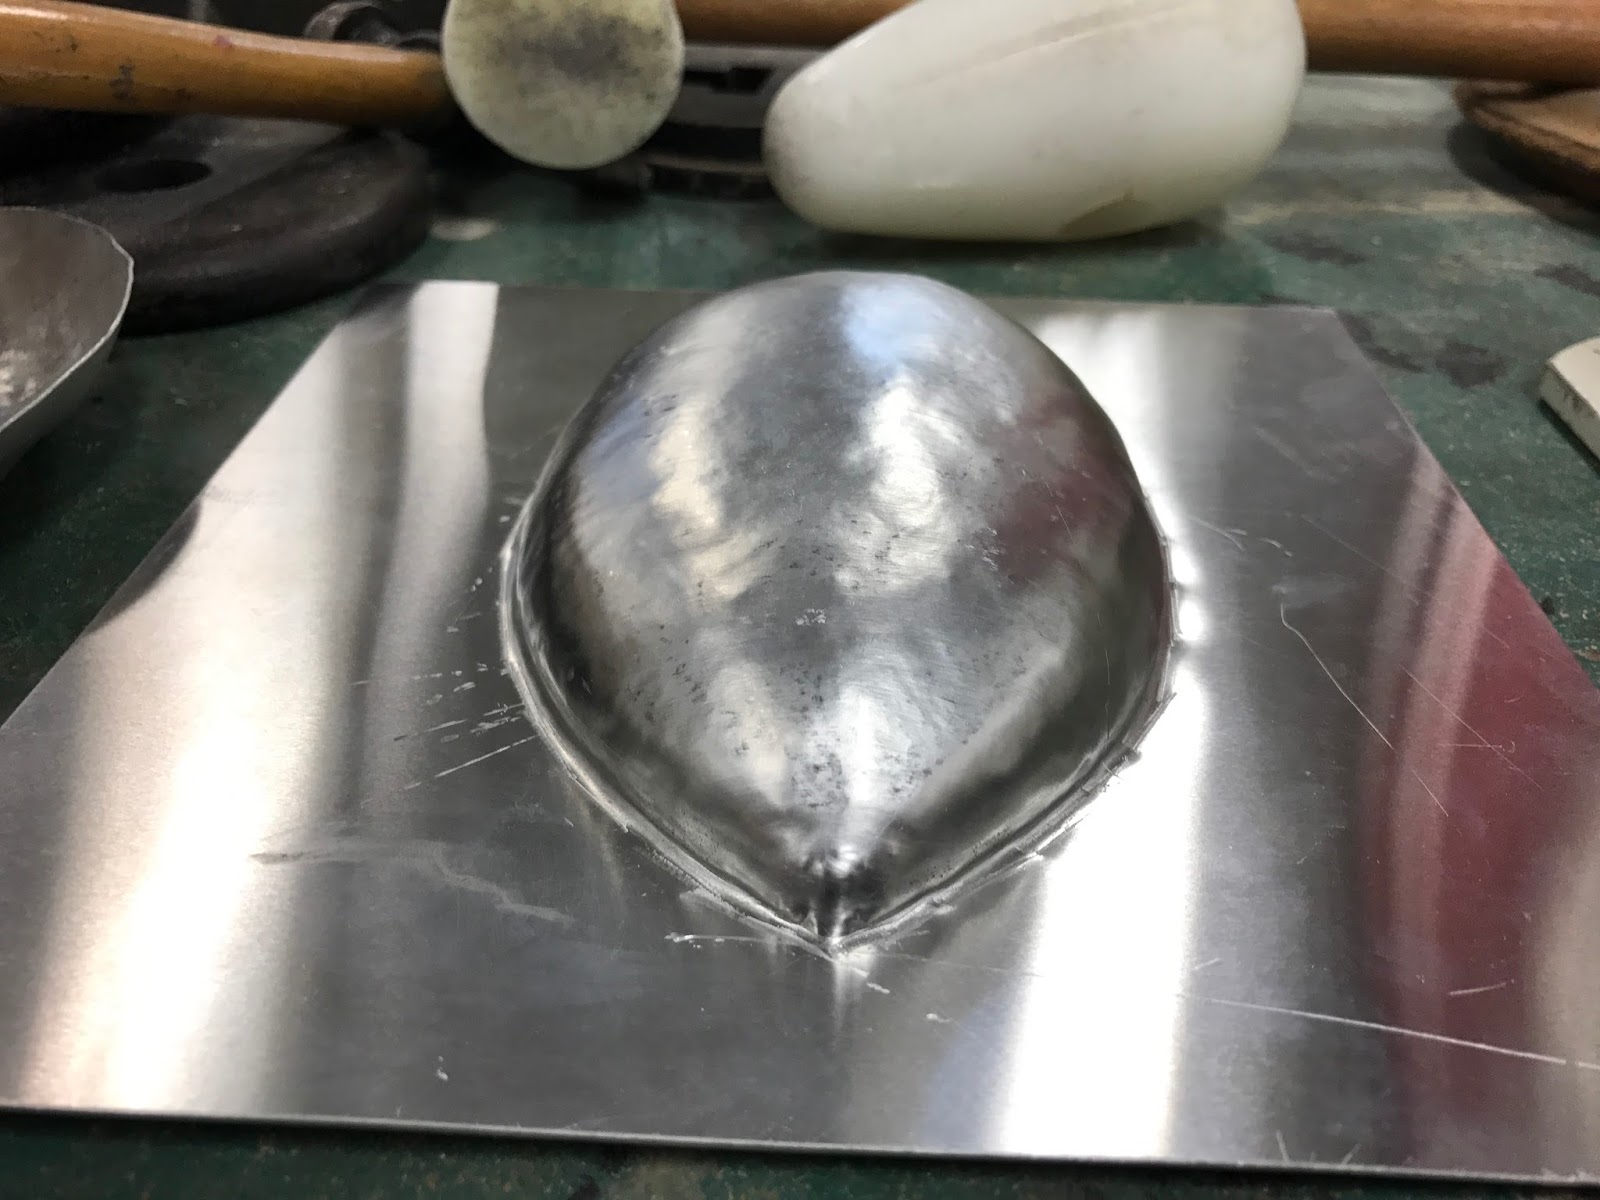
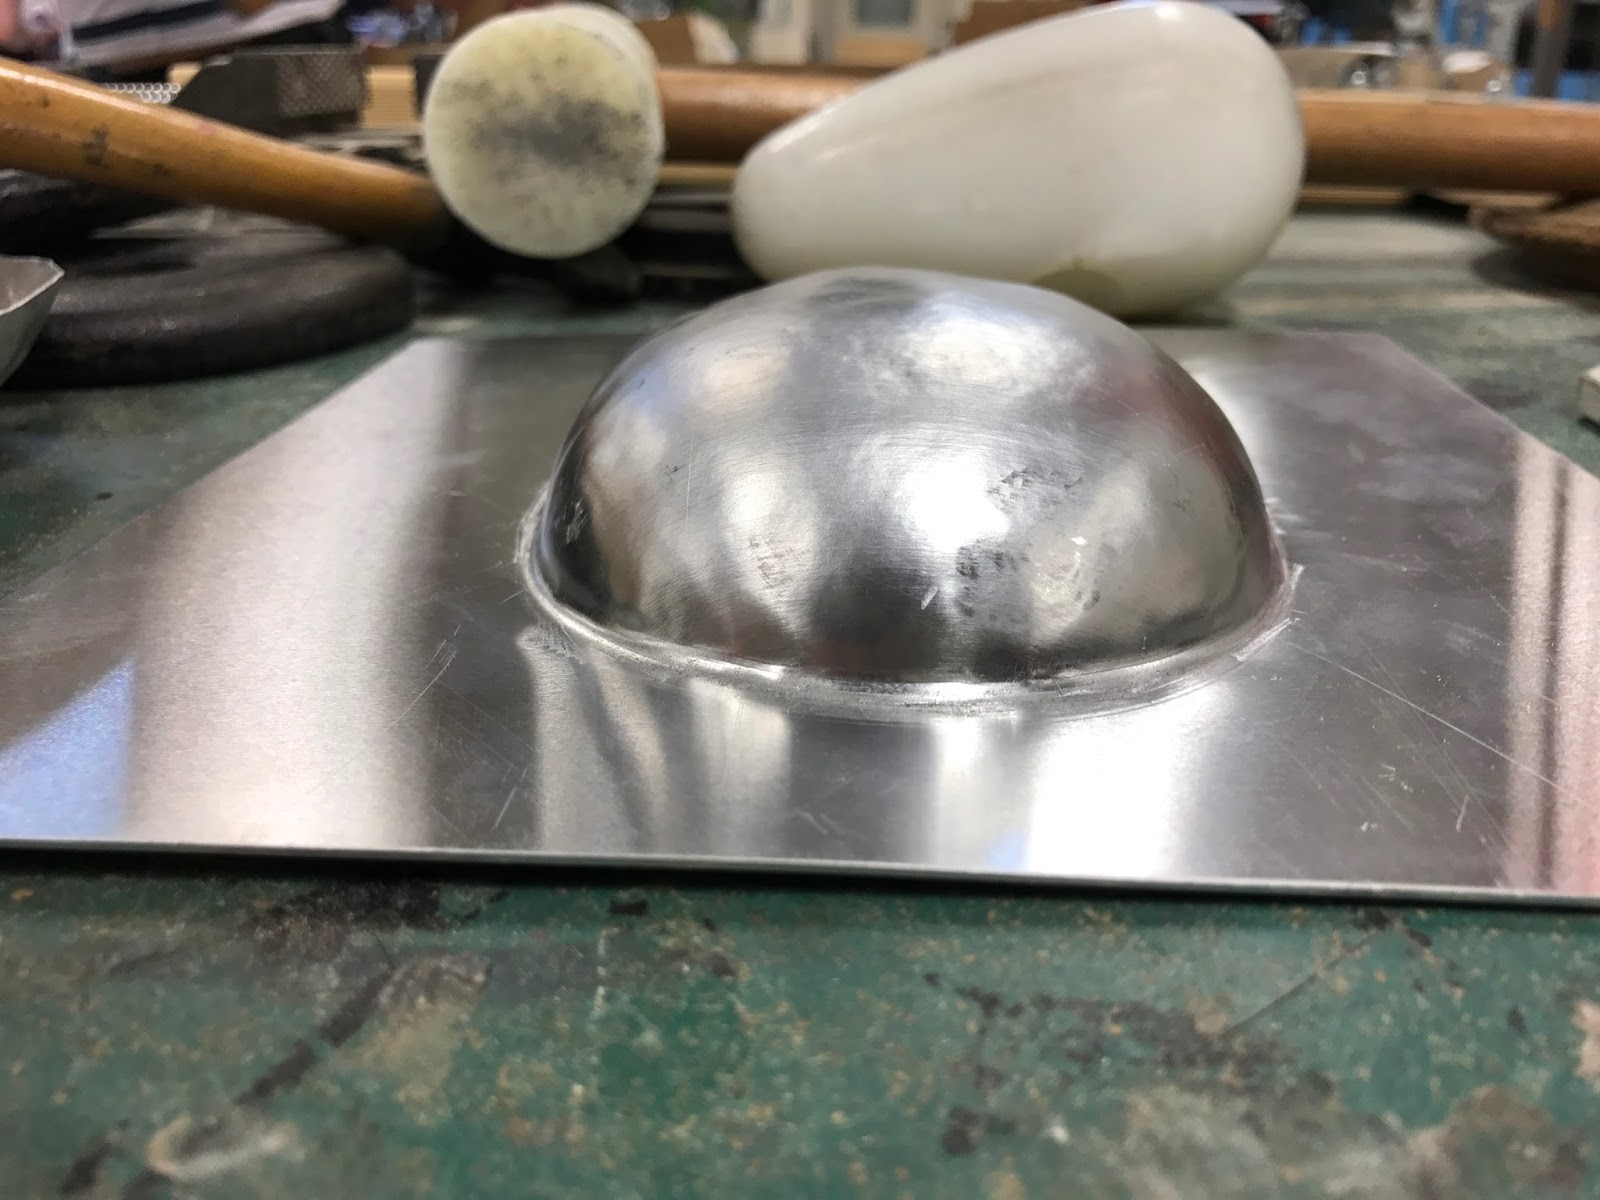
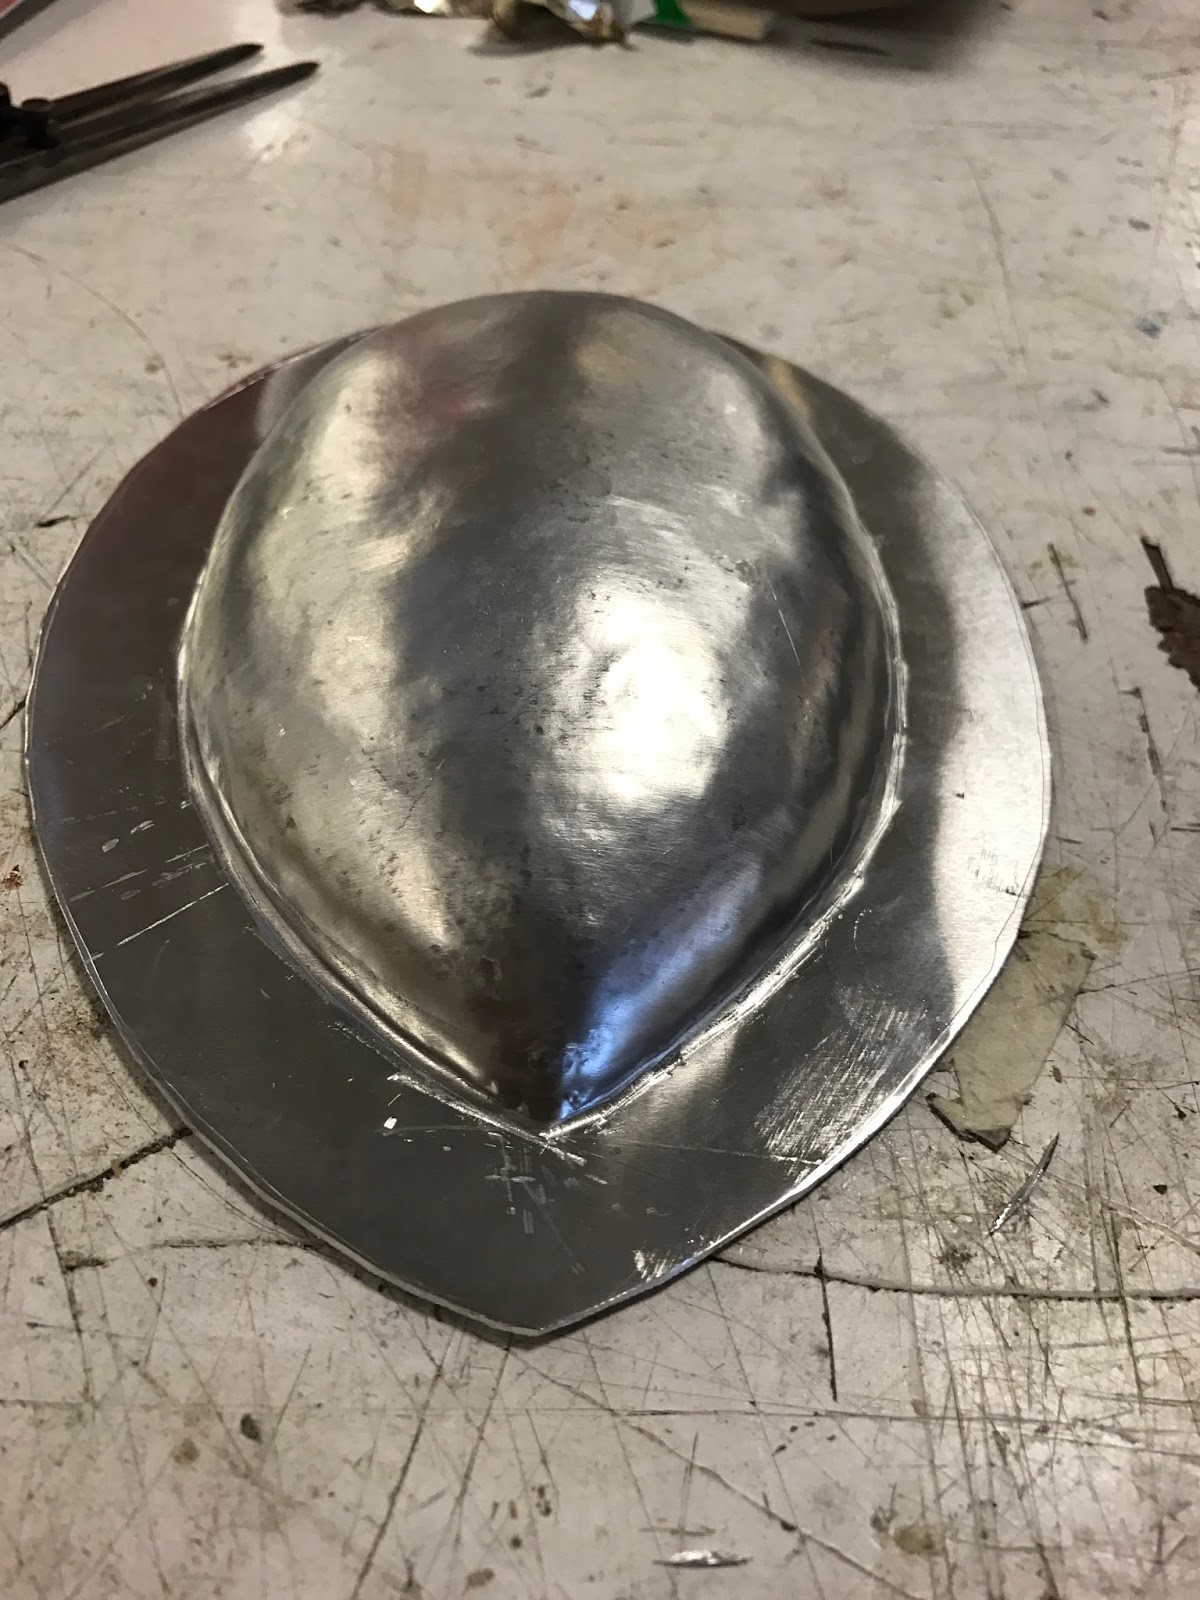
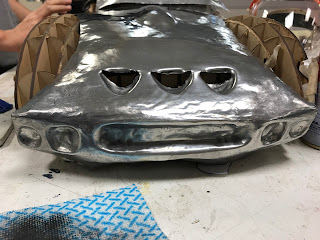
During a long time of hitting, the depth of the egg-shape should start to show up, which make the flange clearer and sharper. When the blister is deep enough, it is the time to release from the frame to develop the rest part. Also, the curved iron shape would be able to amend some small wave surface by hitting the blister on it.


Step 4 - Finalising the blister
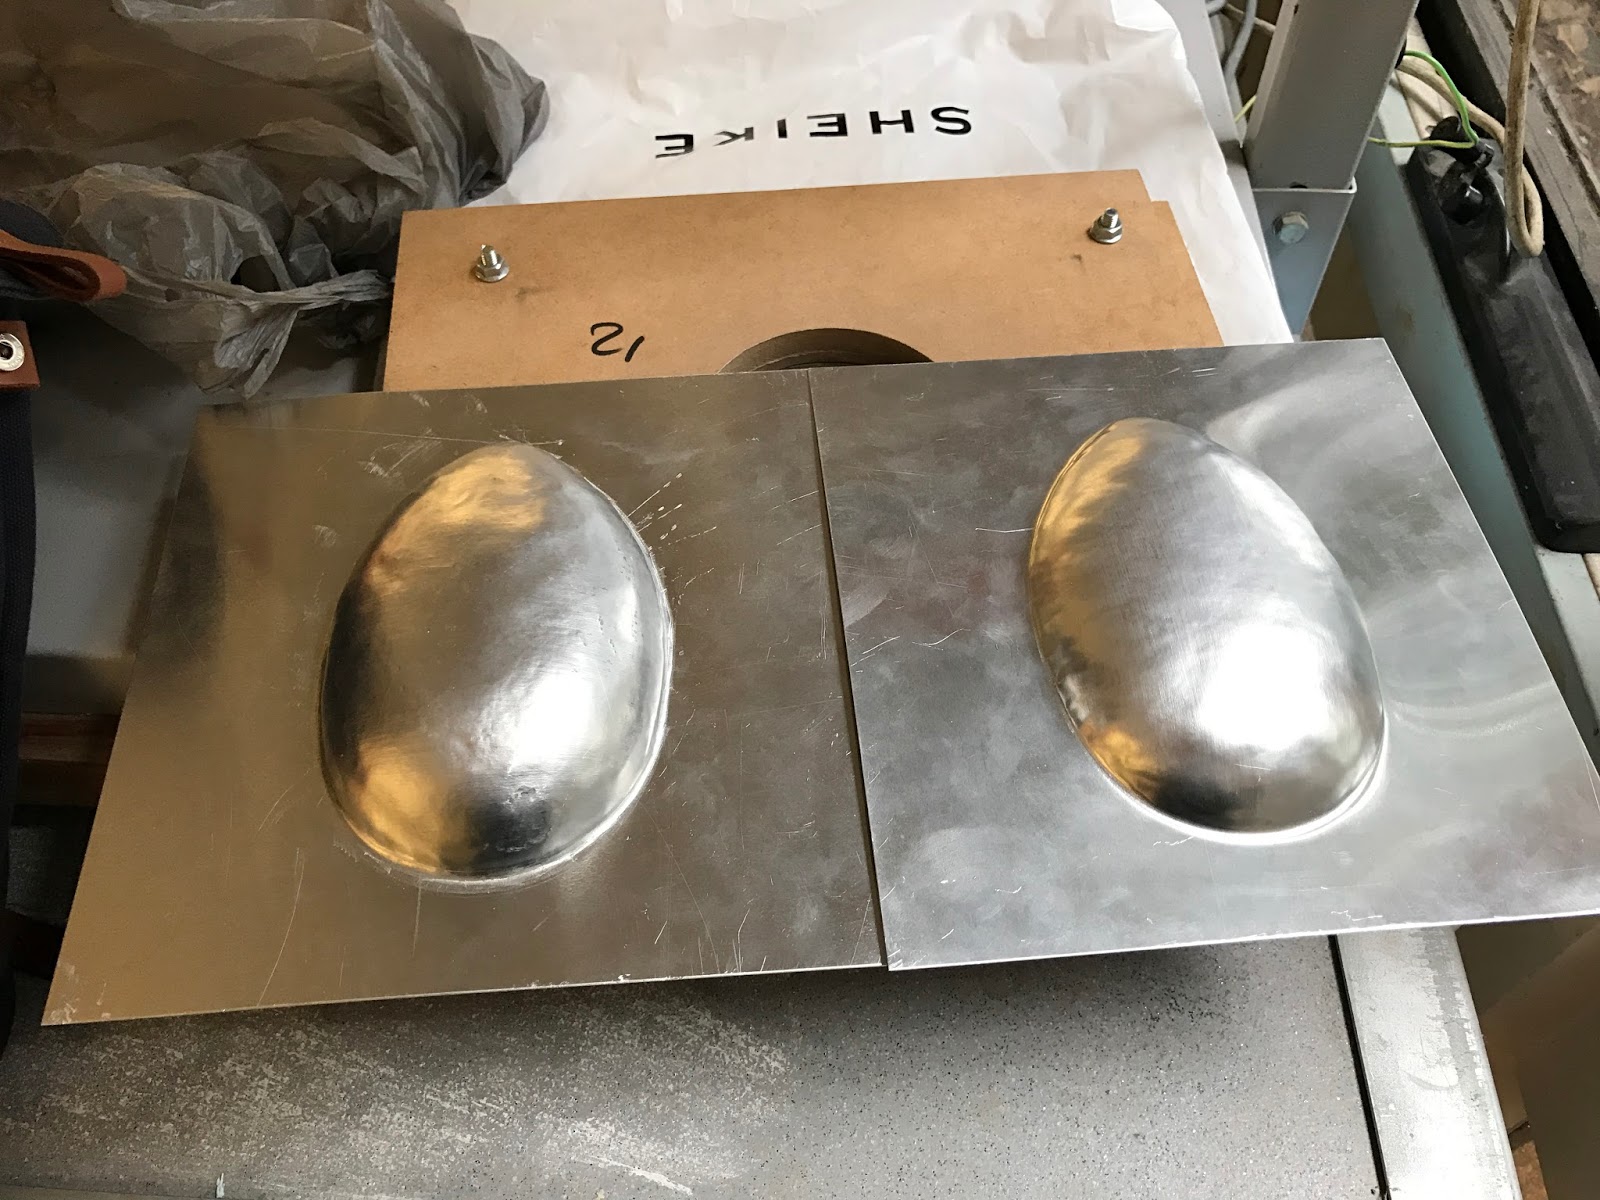
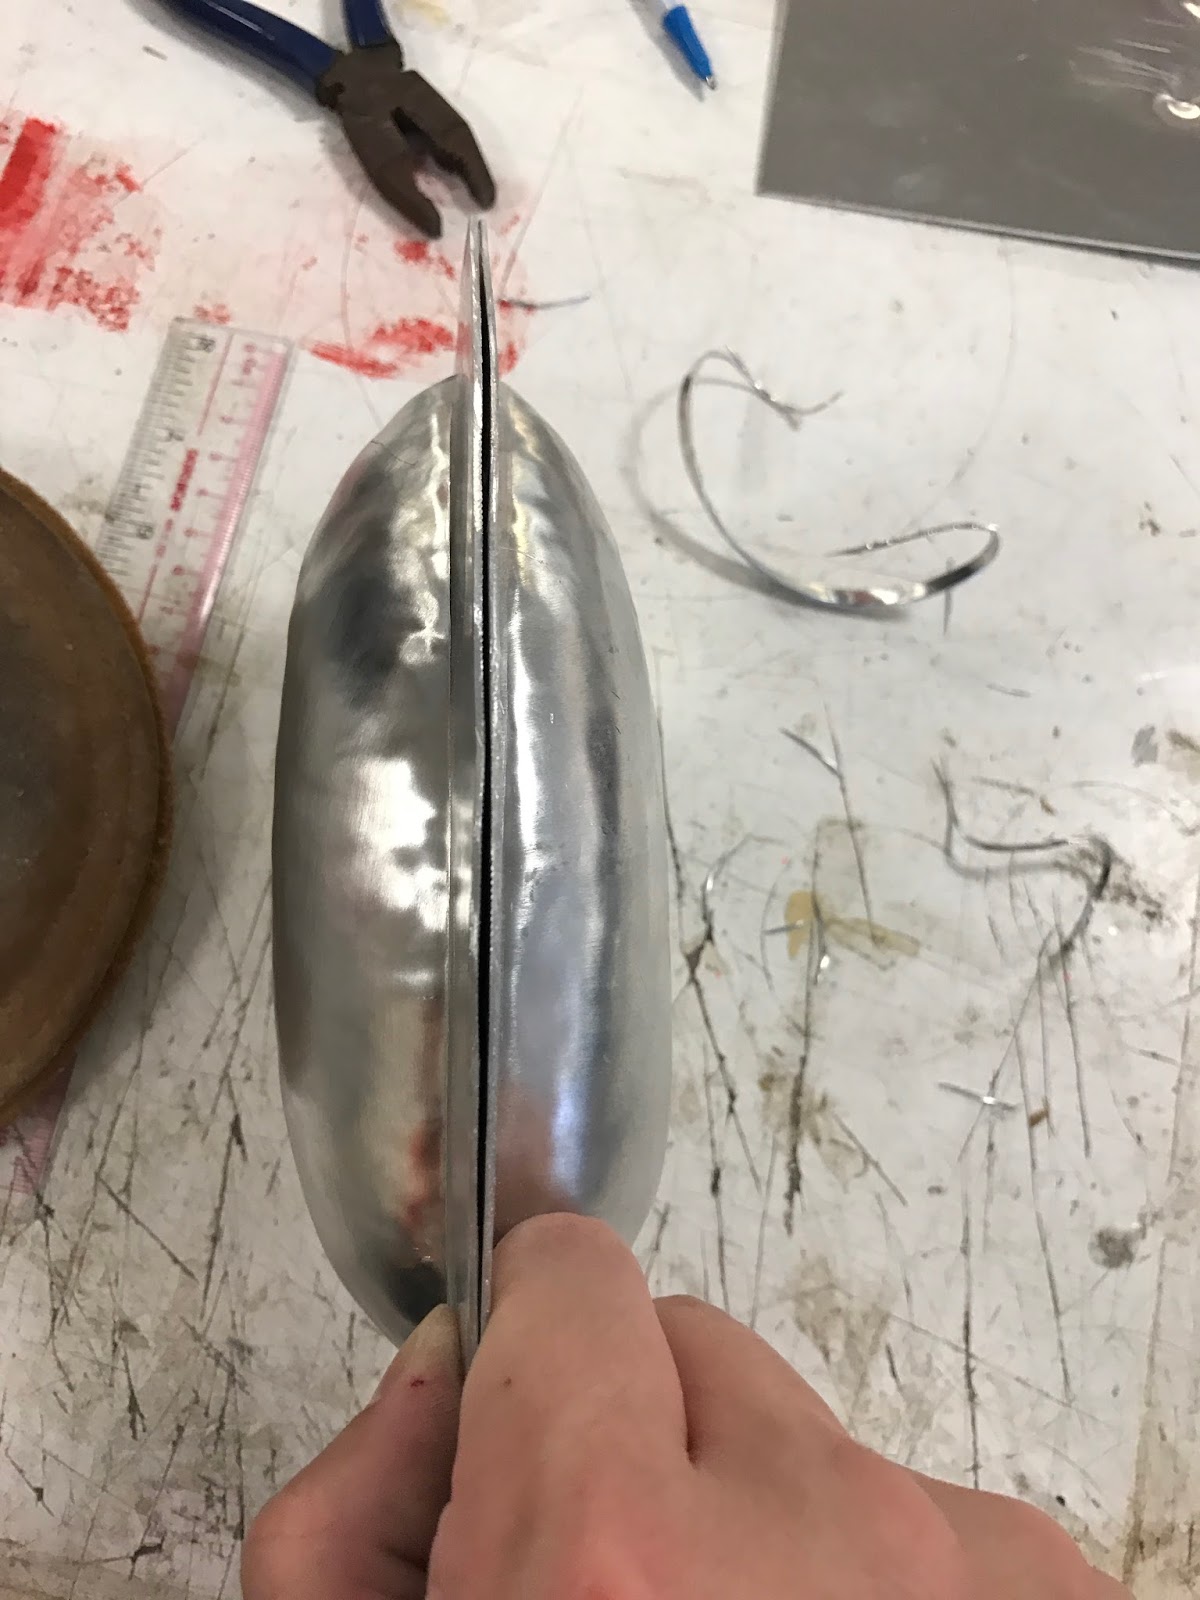
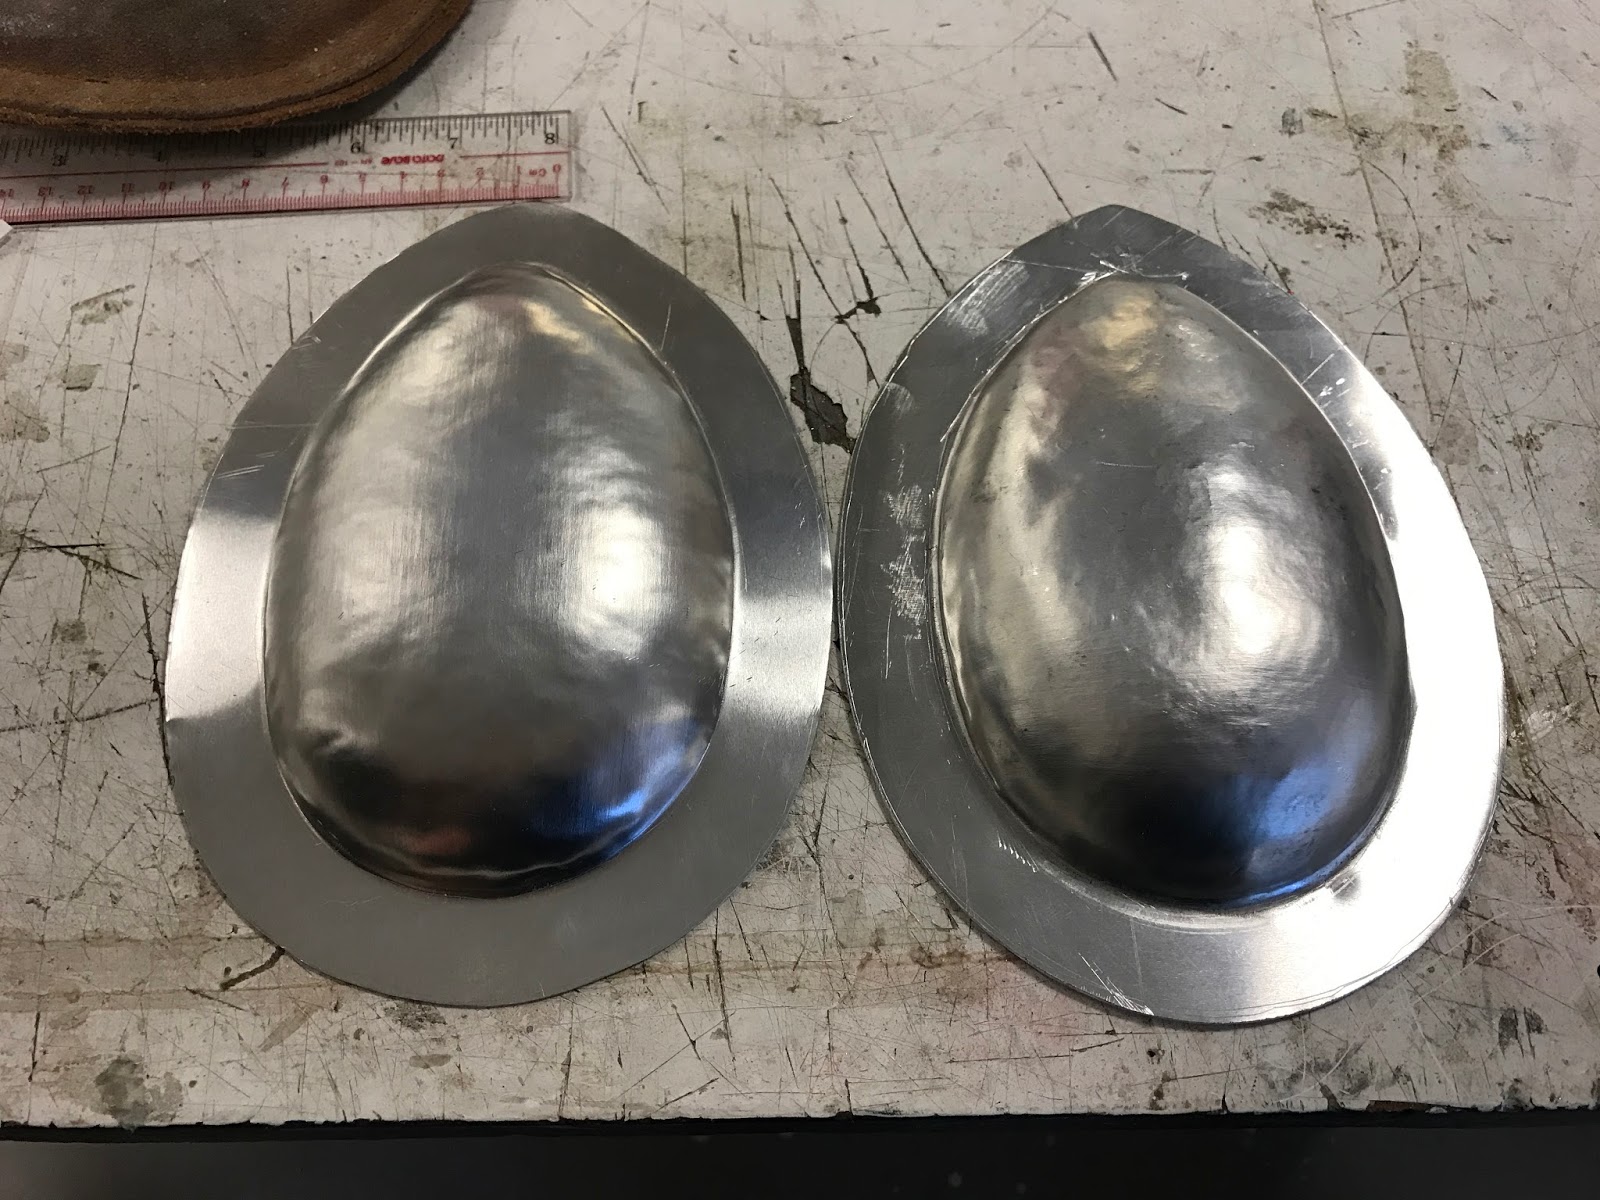
In the second week, the group mate should also finish the blister as well; hence, two blisters would be able to put together to check whether it is a perfect pair.

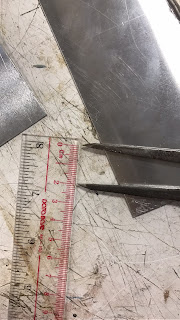
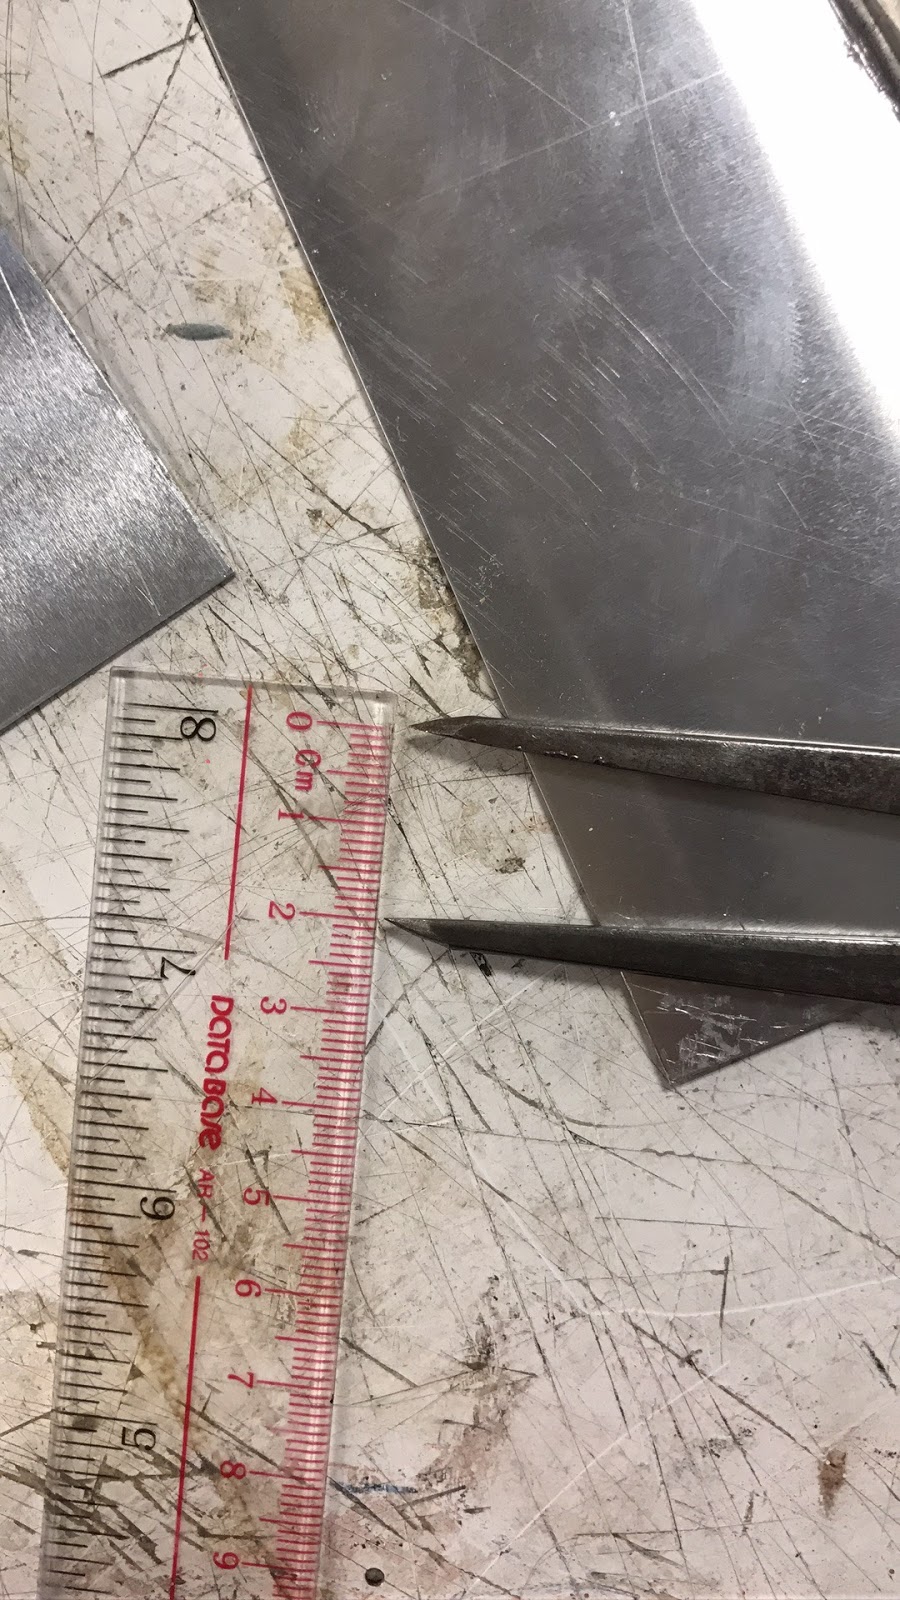
The final step will be to cut off the extra part of the blister. It could be leave less than 20mm for the edge surrounding the shape. The iron compasses will be a good tool to draw on the metal sheet instead of using any pen or pencil because it is to leave a mark and easy to follow to cut.

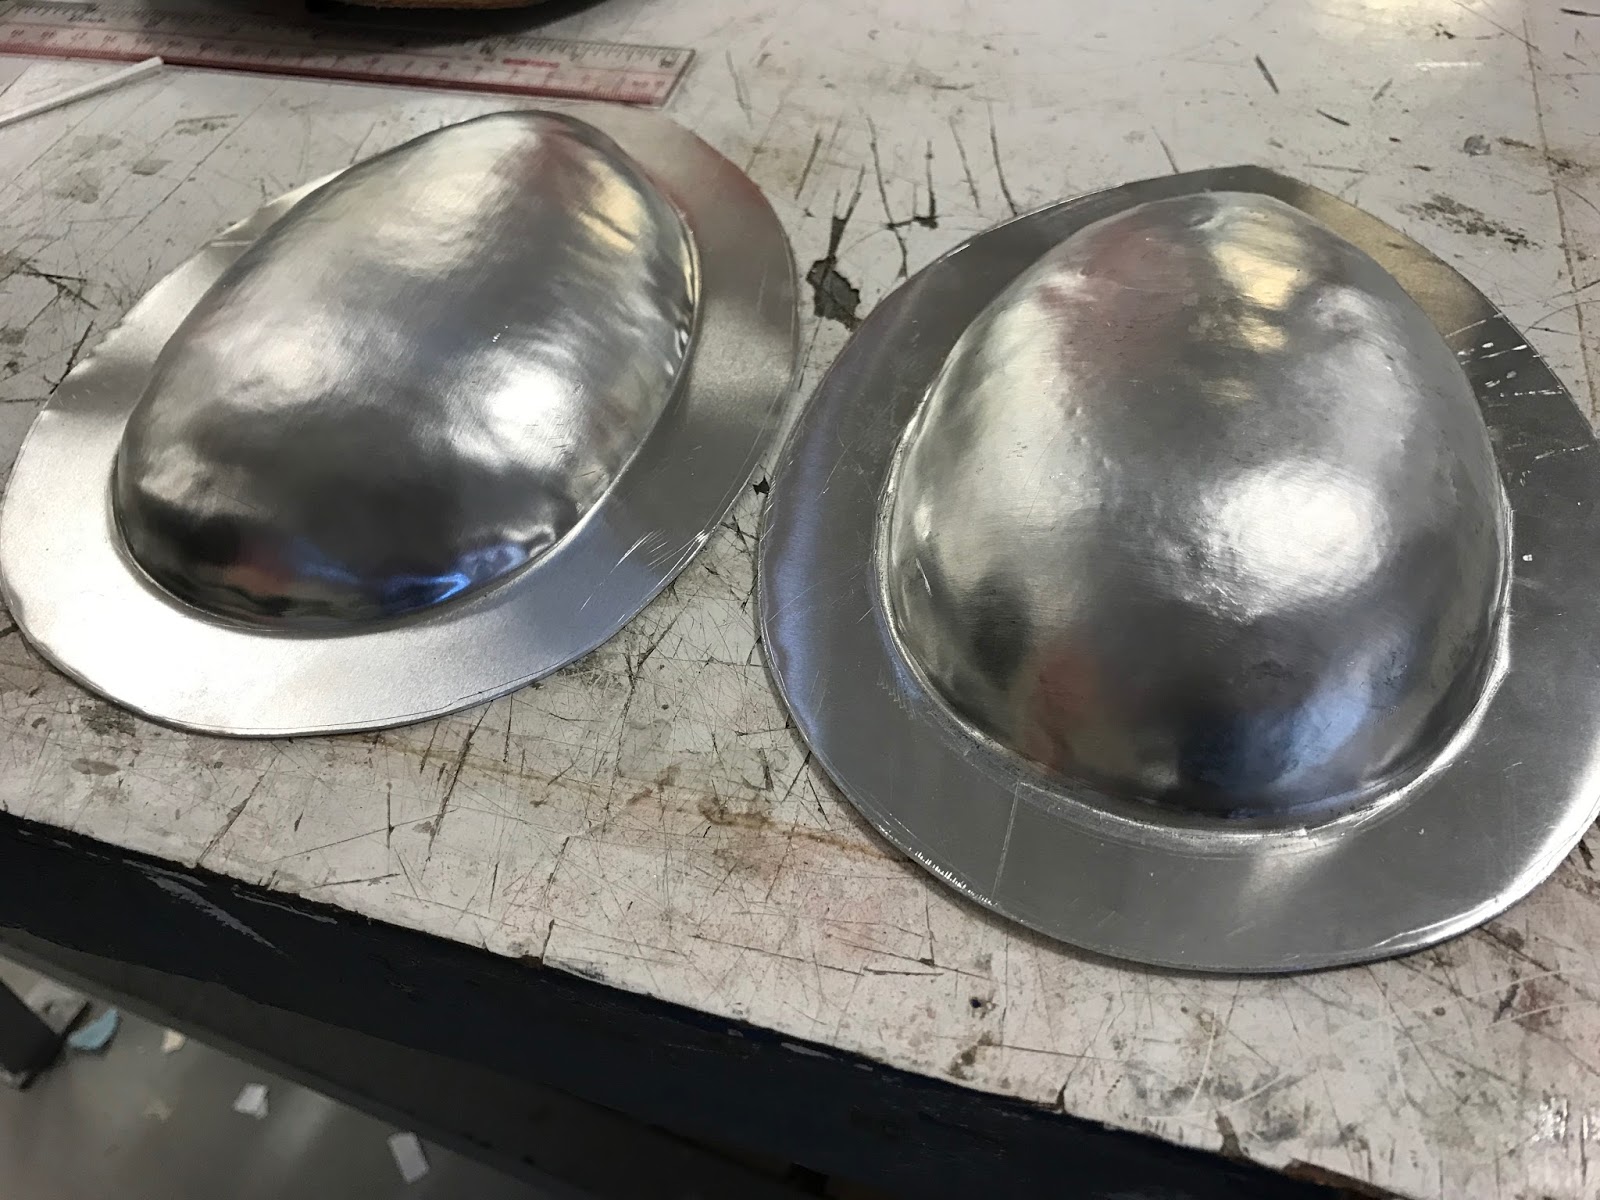
Finally, two pair of the blister has been finished and match to each other perfectly 😁


BEIL0014 – DIGITAL MAKING

Before creating the metal blister, it
is strongly suggested to watch a tutorial video from the Youtube - Metalshaping tricks # 5, which it will help to
understand the process and provide a outline for the creating steps:
Steps:
1. Creating the frame
2. Cutting the sheet
3. Shaping the deep
4. Finalising the blister
Step 1 - Creating the module
The based module made by MDF board
should be draw and cut in following the specific outline by course tutors
before the class. Two people would be a small group to create a pair of metal
blister shape within two weeks, which the metal shape to be creating in the
first week, and the second week should be left for adjusting with the group
mate.

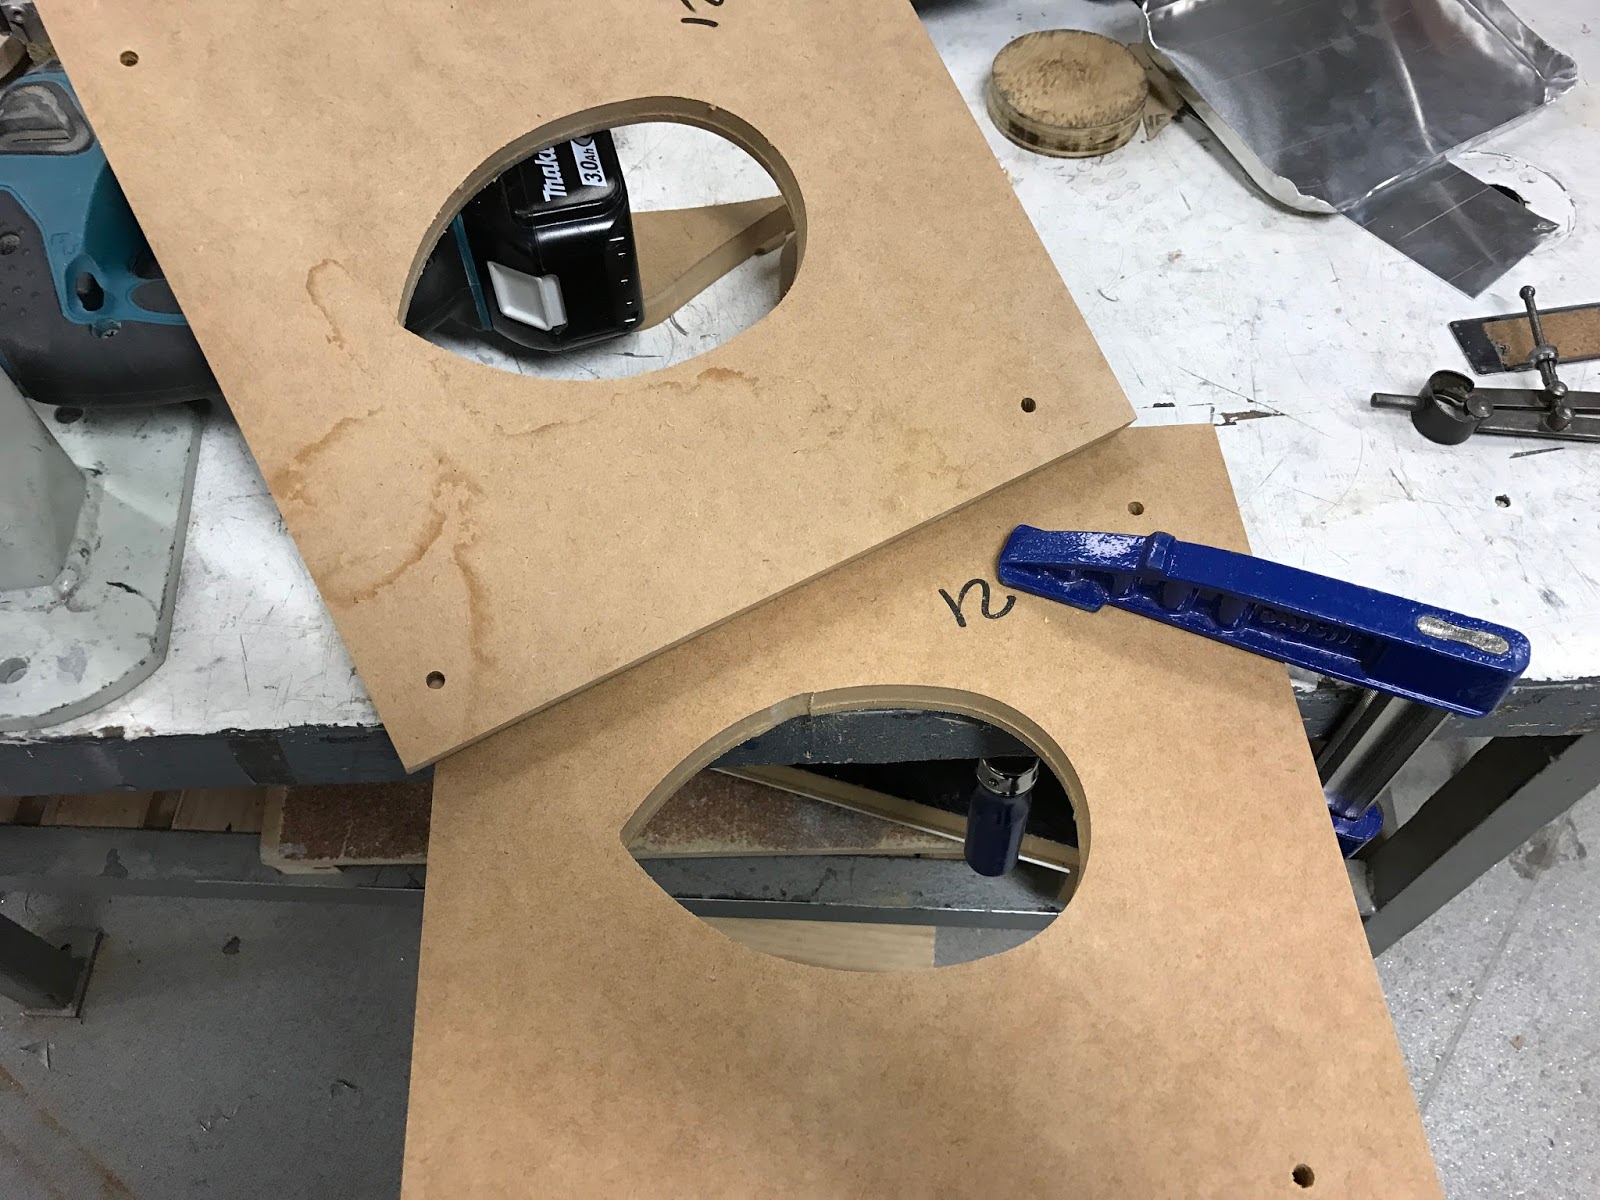
To creating the round shape in the middle,
two tools should be carefully used into this process, which they should make
the shape easy to cut and achieve smooth edge for later process - jigsaw,
sander and. The jigsaw can simple and quick to cut off the middle shape
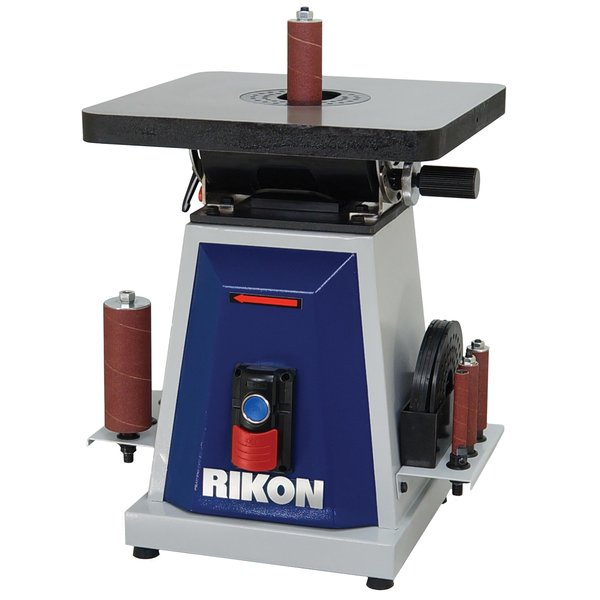
following the outline of the shape; the sander will be able to enhance the edge
of inside of shape smoother and no shape edge for the blister; while the drill
could help the create at least four holes in each corner of the square base
module, which it is for the nails to hold the metal sheet later in the
middle.
 |
| jigsaw |
 |
| sander |
 |
| drill |
Important note: if you do not know how to use any tools in the workshop, just ask the tutors or staff in the workshop.
Step 2 - Cutting the sheet
After the base frame is ready, we can
use the guillotine in the workshop to cut the metal sheet to small square piece
(the guillotine only can cut metal and plastic sheet). Draw the line firstly on
the sheet and ensure a square shape should be drawn correctly, then just cut it
with confidence!!!


Step 3 - Shaping the deep
When the metal sheet and MDF frame are ready for further action, the blister would be started to create by different types of hammers. Round edges of plastic hammer should be hold into the middle shape area, then the flat plastic hammer to hit the round plastic hammer. in terms of ensuring the deep balance for the entire eggshaped flange, large side of round plastic hammer for curve side of hit area, while needle side of plastic hammer for sharp area to hit, and do not hit one place only, but hit evenly for everywhere to avoid wave surface.
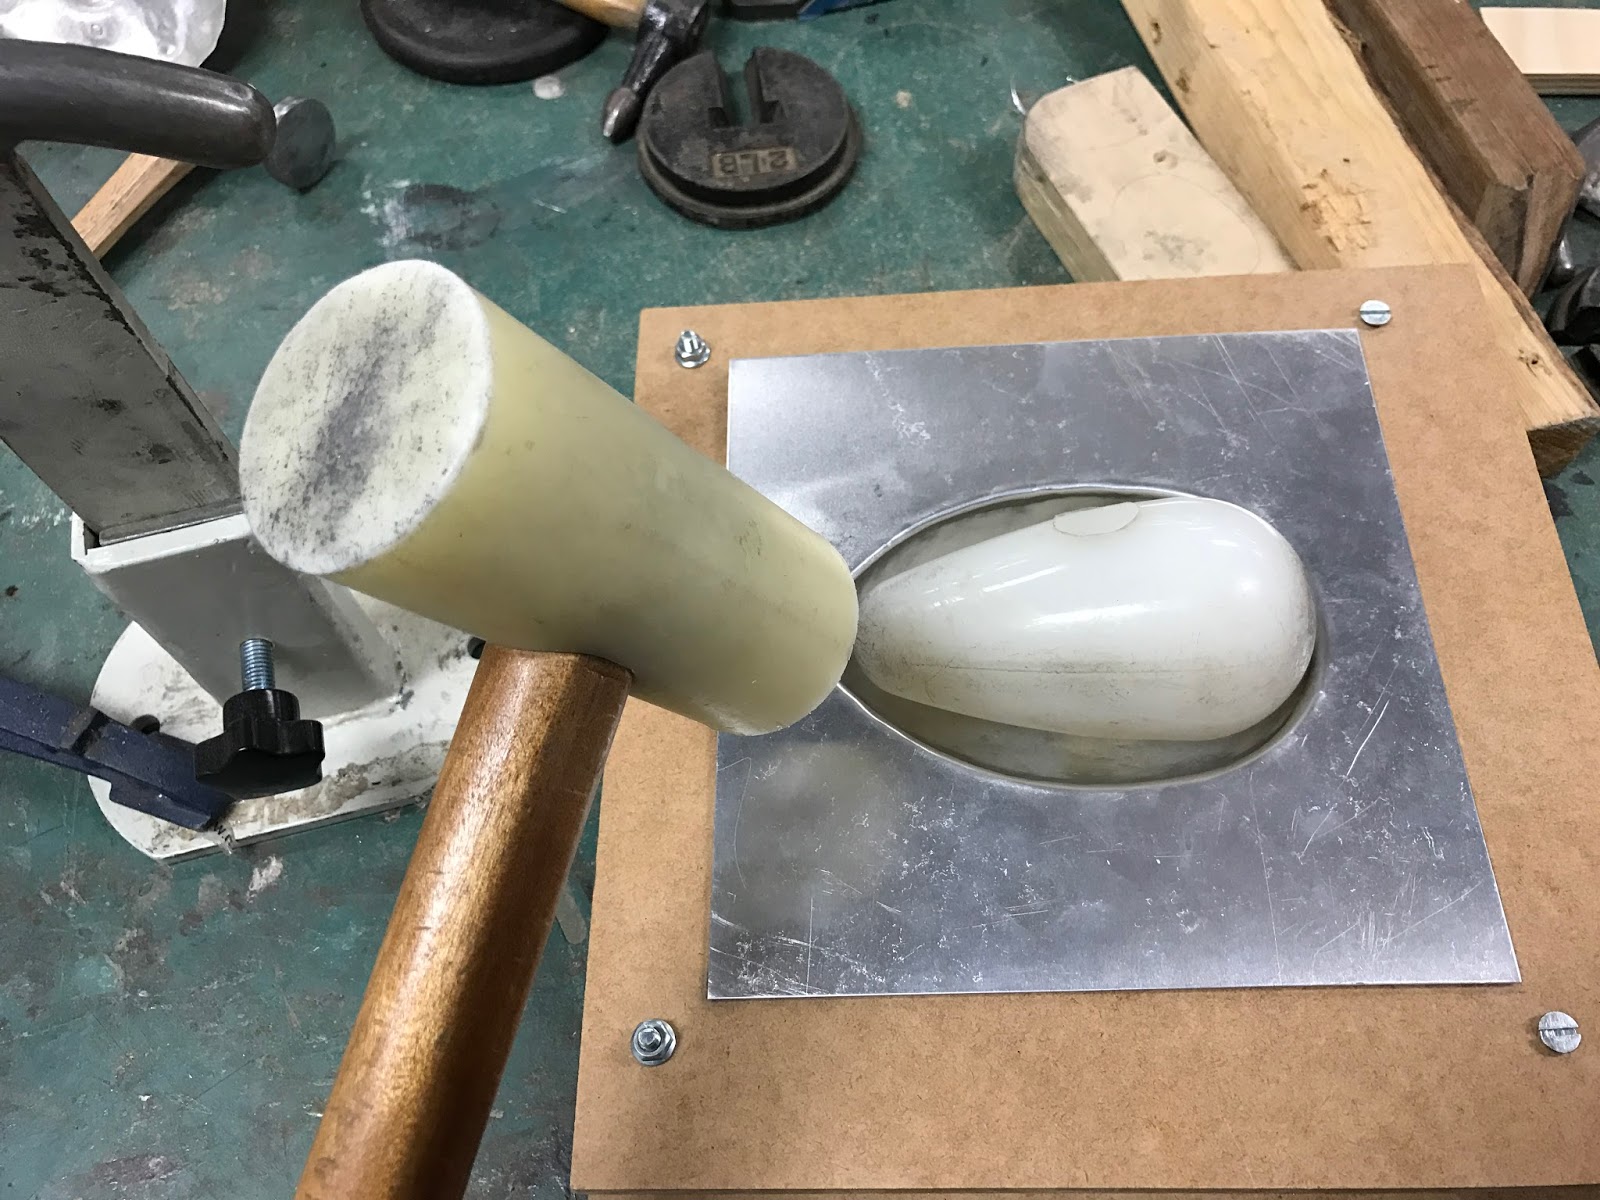


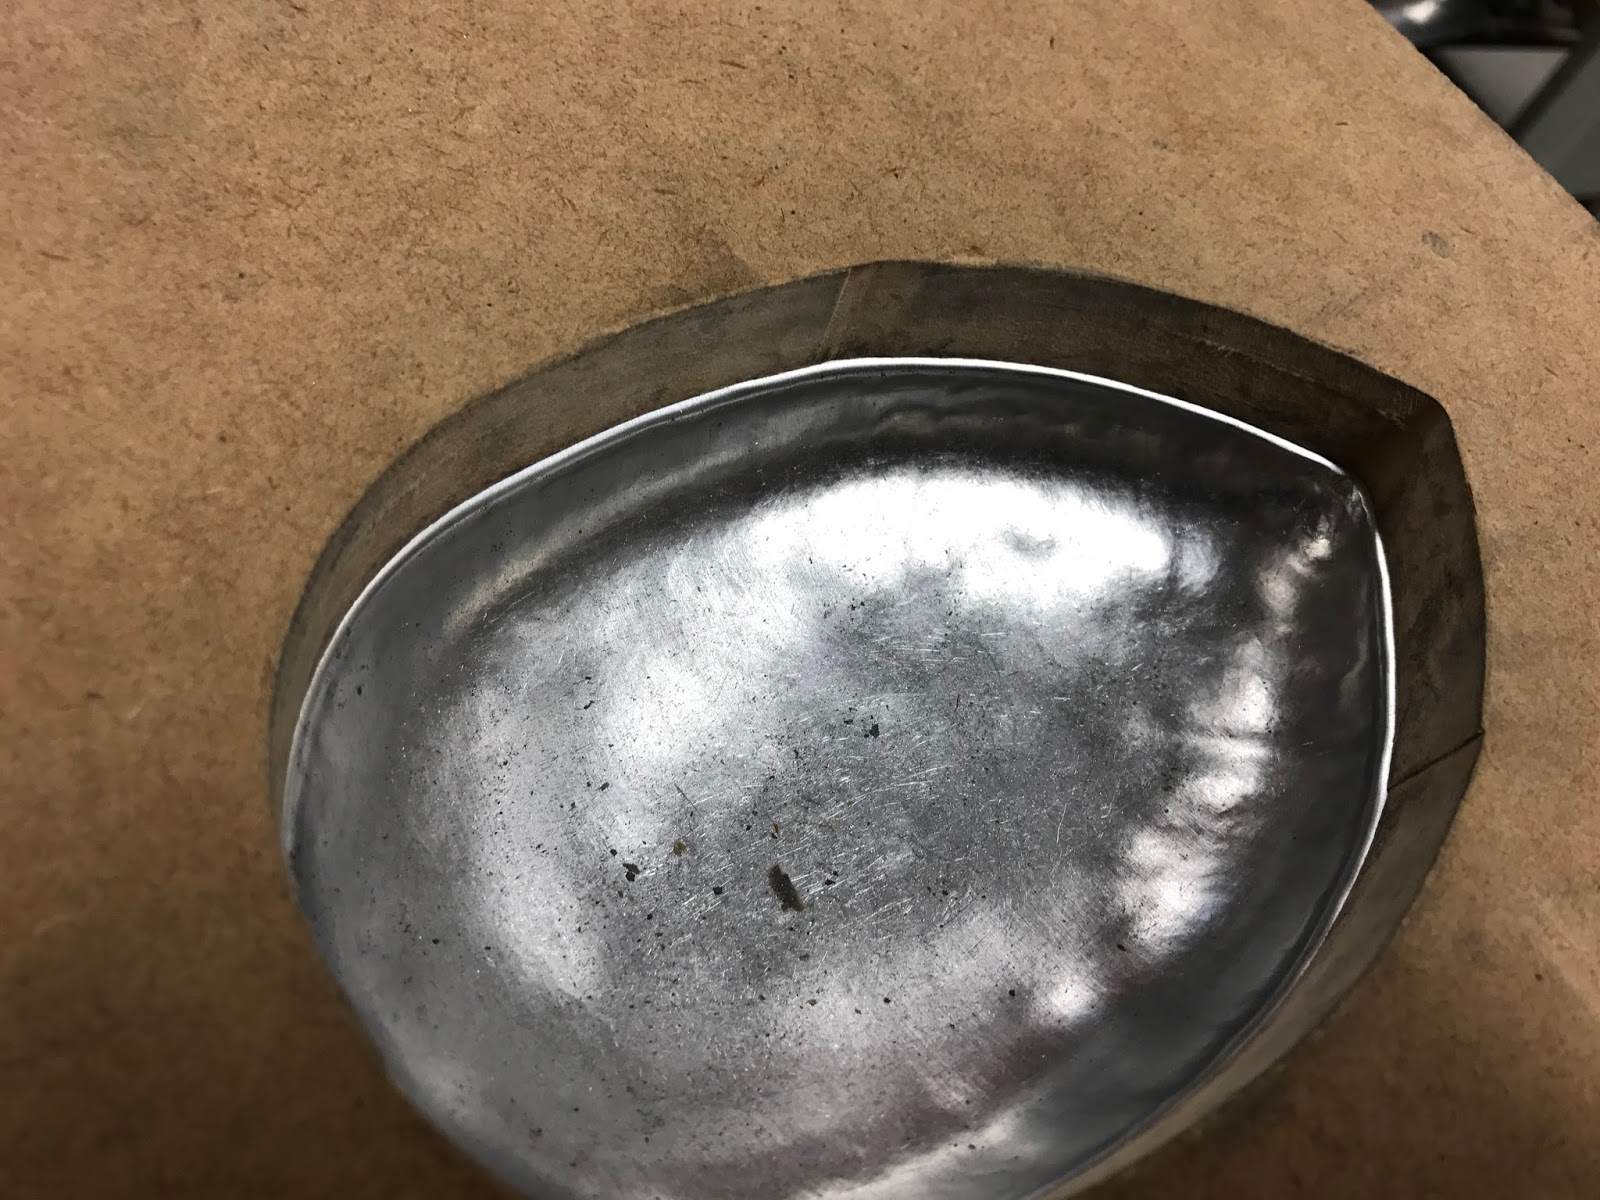
During a long time of hitting, the depth of the egg-shape should start to show up, which make the flange clearer and sharper. When the blister is deep enough, it is the time to release from the frame to develop the rest part. Also, the curved iron shape would be able to amend some small wave surface by hitting the blister on it.
Then, the blister is finished at 70%
of entire process, using the chisel on the iron hammer to sharp the edge for
the blister.

Step 4 - Finalising the blister
In the second week, the group mate should also finish the blister as well; hence, two blisters would be able to put together to check whether it is a perfect pair.
The final step will be to cut off the extra part of the blister. It could be leave less than 20mm for the edge surrounding the shape. The iron compasses will be a good tool to draw on the metal sheet instead of using any pen or pencil because it is to leave a mark and easy to follow to cut.

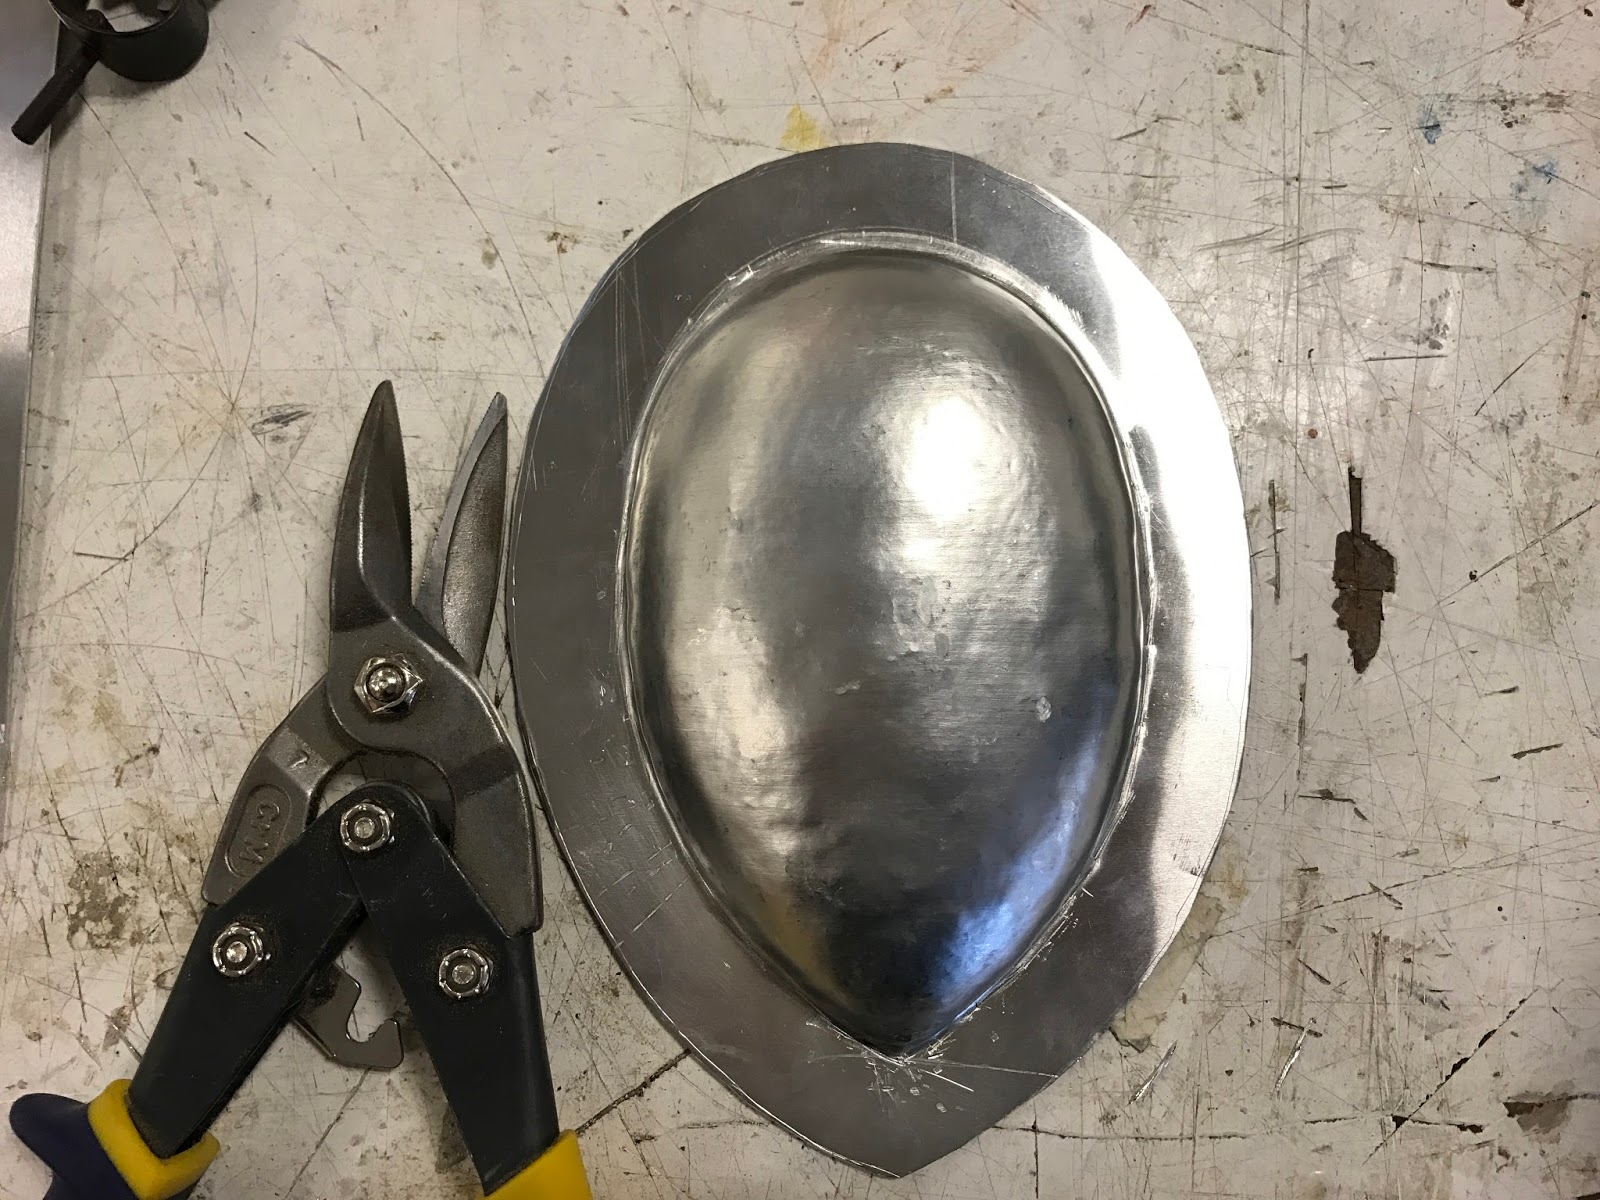
It could use the metal scissors to cut
the extra part, but it would not be easy since you have to put some strength on
it. There is a small tip: using the guillotine of step 2 to cut off large
area then the "big scissors" in the workshop to cut the
small and curve part, it is feeling like to cut a piece of paper. (Asking staff
or tutors before using !!)
 |
| small metal scissors |
 |
| "big scissors" |
Finally, two pair of the blister has been finished and match to each other perfectly 😁

Comments
Post a Comment